The 2D view shows your patch as a flat rack: you see everything at a glance, the ideal place to build and tweak quickly. The same patch also opens in the 3D studio, with the same sound.
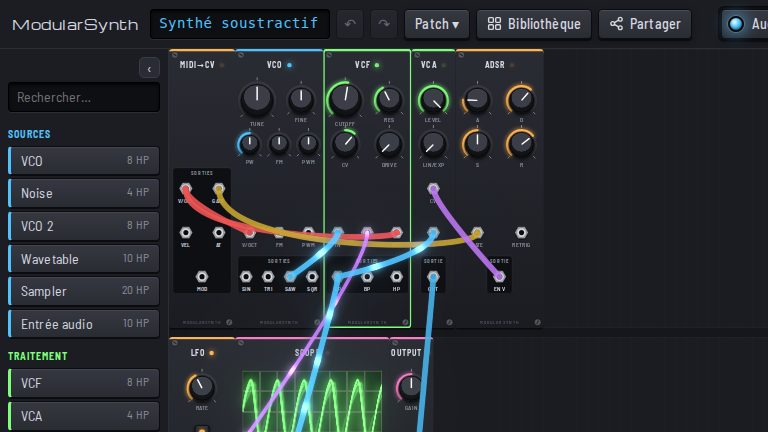
Adding and arranging modules
The Modules column, on the left, lists them by category. Drag them into the rack, or double-click to add one. The ‹ button folds it away to give the rack all the room.
Move a module by its title. Press Delete to remove the selected module and Ctrl+D to duplicate it. Ctrl+scroll wheel zooms; zoom is also in ⚙ Settings.
Turning knobs
Drag up or down, or use the scroll wheel; hold Shift for fine control. Right-click a knob to type an exact value, or choose MIDI Learn to control it with a knob on your MIDI keyboard (see Keyboards and MIDI).
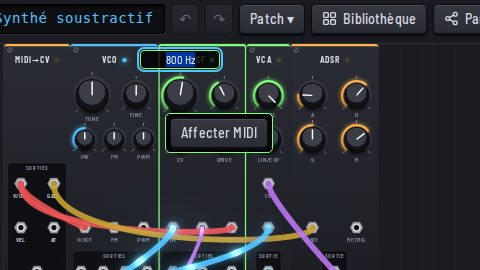
When an envelope, an LFO or the wheel moves a setting, the knob’s arc lights up to the value actually playing, with a glowing trail.
Seeing the signal
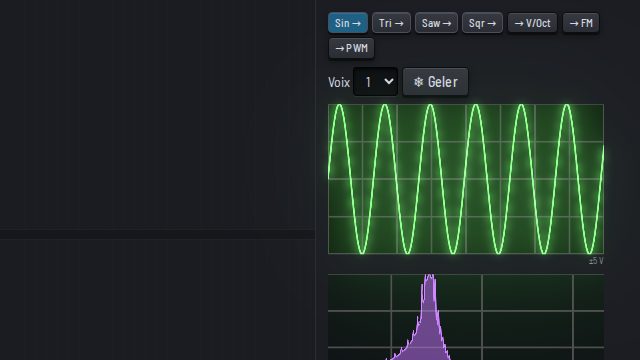
Click a module: the inspector, on the right, shows its signal (scope and spectrum) and its documentation, the same as in the module pages.
The top bar and the ☰ menu
In the middle: Start audio, ▶ / ■ to start or stop the sequences, and Record to record a WAV. The Library opens the presets and your patches. The ☰ menu holds the rest: My Library, import and export, sharing, settings, the welcome guide.
On phones and tablets
The Modules drawer opens with ›: tap a module to add it, and it stays open so you can add several. Pinch the rack to zoom, drag with two fingers to move around, and long-press a title or a knob to open its menu.